
In this part we are going to be covering how to download and install Visual Studios and OpenTK and then we'll go over how to create your first OpenTK project.
Step 1: Download Visual Studios
All screenshots and directions in this tutorial are going to be based off the Desktop 2013 version of visual studios but any version of visual studios should work and be relatively easy to follow along. If you already own visual studios go ahead and skip to the next step. If you don't own a copy don't fret! You can get the "express" editions of any version of visual studios completely free. If you want to use the same version I am using then simply follow this link and choose the download option under "Express 2013 for Windows Desktop"
It may ask you to sign in to a microsoft account. If you do not have a microsoft account either make one or if you would prefer you can most likely find earlier version of visual studios express to download without an account.
After signing in you will be presented with a page as seen below. Select "Express 2013 for Windows Desktop"
The following page will start downloading the installer for visual studios for you. Once the installer is downloaded open it up and follow the steps to install.
Step 1.5 (Optional): Download OpenTK
There are two easy ways to use the OpenTK libraries in our project. The first, and arguably the best, is to use the Nuget Package Manager in Visual Studios. The second is to download the OpenTK libraries manually and link them to your project manually. I recommend going with option one since this will make your project easier to move and manage and does not require this step. However if you would like to link the dll's manually then continue with this step.
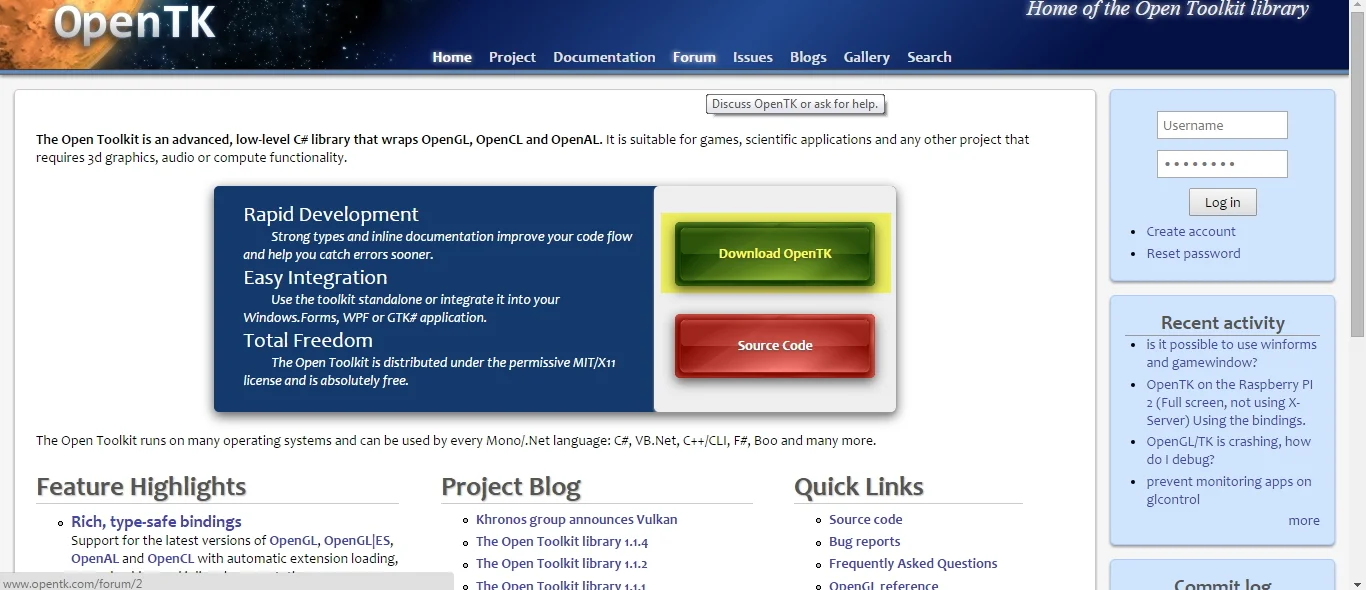
In order to download OpenTK you need to go to www.opentk.com and click the "Download OpenTK" button.
This should then redirect you to the Sourceforge page for the most recent, stable, build of OpenTK.
Once the installer has finished downloading go ahead and run it.
Important
During the installation process you should see a screen like the one in the picture below. Make sure you make note of the Destination Folder so that you can find it later in the tutorial. I recommend placing it somewhere easy to find like the C drive or Program Files folder.
Step 2: Creating the Project
Once visual studios is done installing you may have to restart your computer for it to finish. Once that's done go ahead and open Visual Studios and you should be presented with a page that looks like the one below.
I will not be going over a whole lot of the functionality of Visual Studios in this tutorial so you may want to find a tutorial on that first if you are having trouble following along. However, hopefully this series will explain everything that you might need to follow along without prior knowledge of the program.
To create a new project you simply have to go to "File"
Select "New Project" from the drop down
In the next window make sure you have "Visual C#" (2) selected under "Templates" (1) in the tree view. With that selected you should be able to choose the "Console Application" (3) option. Make sure you set an appropriate name in the "Name:" (4) box and also the folder that the project will be saved to in the "Location:" (5) drop down. I highly recommend creating a folder for all your projects in an easily accessible and manageable place. Once everything is said and done, click "OK" (6).
Visual Studios will now go ahead and create a blank Console Application project for us. Once it's done you should see something similar to the image below.
Part 3: Referencing OpenTK
There are two ways to reference the openTK library in your project. I recommend using the Nuget Package Manager but you can also do it manually if you follow step 1.5 as well.
Option 1 (Recommended): Using the Nuget Package Manager
On the right side in the solution explorer you should see one solution that contains our one project named "TutorialProject." Right click on either the project or "References".
Select "Manage NuGet Packages..." from the list.
In the window that follows make sure you first select "Online" (1) from the area on the right and then select the search box (2) and type "opentk". Once the search has finished you should see "OpenTK: The Open Toolkit Library (OpenTK)" as the first item in the list. Click "Install" (3) and then clock "Close" (4) when it's done.
Option 2: Manual
On the right side in the solution explorer you should see one solution that contains our one project named "TutorialProject." Right click on either the project or "References".
Select "Add Reference..."
Select the "Browse" (1) option on the left and then click the "Browse..." (2) button at the bottom.
Navigate to the directory you installed OpenTK to in step 1.5 and then enter the Binaries/OpenTK/Release subfolder and you should find "OpenTK.dll". Select this library and hit "Add". Then click the OK button to return to the main screen.
Either method you choose you should now see "OpenTK" under the "References" drop down on your project.
Part 4: System.Drawing reference
We will also be needing a reference to the System.Drawing library and this one, unlike OpenTK, will have to be done manually. Similar to the steps in Option 2 of Part 3, right click on you project or it's "References" and select "Add" -> "Reference..." or "Add Reference...".
On the left side of the dialog box make sure you select the "Assemblies" (1) section and then type "draw" into the search bar (2) on the top right. This should bring up a short list of assemblies containing "System.Drawing". Check the box next to it (3) to add it as a reference. Then click the "OK" button. (4)
Part 5: Creating a window
Now in the Progam.cs you should have a "Main" function already created for you. This is the entry point for our program so inside the curly braces we need to create and run a GameWindow. Simply add the two lines of code seen below.
With those two lines added you should be able to run the project using the "Start" button up in the top toolbar.
If everything went as planned you should get some windows similar to this:
The black window is the Console window which is automatically created for us by Visual Studios when we set our project to be a "Console Application". (You can change this to a "Windows Application" in the project settings if you want to disable it) We won't be using it to much other than to debug problems by writing things to the Console. The white window however is a window created for us by the GameWindow class we just created. The Run function that we called opens this window and begins what is called a "Game Loop" which we will be hooking onto later.
That's it! Hopefully everything went smoothly and now you have a project that is ready to make use of the OpenTK library. In the next tutorial we will be making our own Game class to handle the Load, Update, and Render functionality of the GameWindow.